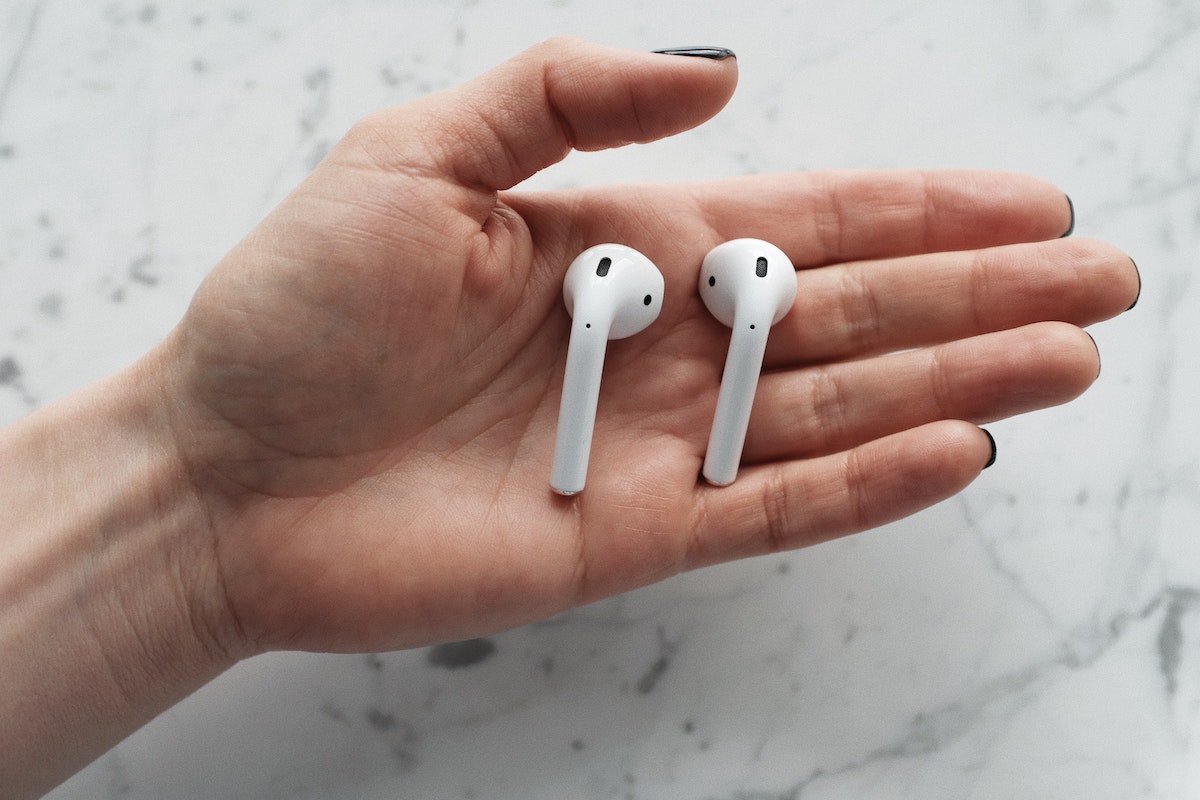
If you’re wondering how to remove AirPods from iCloud, we’ve got you covered. Removing your AirPods from iCloud can be a simple process, and we’re here to guide you through it. Whether you’re selling your AirPods, transferring them to a new device, or simply want to disconnect them from your iCloud account, we’ll show you the step-by-step instructions. So, let’s dive right in and learn how to remove AirPods from iCloud effortlessly.
Table of Contents
- 1 How to Remove AirPods from iCloud
- 2 Frequently Asked Questions
- 2.1 How can I remove AirPods from iCloud?
- 2.2 Where can I find the AirPods settings on my iPhone?
- 2.3 Can I remove AirPods from iCloud using my Mac?
- 2.4 Do I need to disconnect my AirPods from my iPhone before removing them from iCloud?
- 2.5 I no longer have my AirPods. How can I remove them from iCloud?
- 2.6 Will removing AirPods from iCloud erase their pairing with my other devices?
- 3 Final Thoughts
How to Remove AirPods from iCloud
Introduction
AirPods have become wildly popular since their release, offering users a seamless and wireless audio experience. However, there may come a time when you need to remove AirPods from iCloud, whether it’s because you’re selling or giving them away, or simply no longer using them. In this article, we’ll explore step-by-step instructions on how to remove AirPods from iCloud and ensure that they are no longer associated with your Apple ID.
Why Remove AirPods from iCloud?
Before diving into the removal process, let’s briefly discuss why you may need to remove your AirPods from iCloud:
1. Selling or Giving Away: If you’re selling or giving away your AirPods, it’s crucial to remove them from iCloud. This ensures that the new owner can pair the AirPods to their Apple devices and prevents any potential privacy or security issues.
2. No Longer Using: If you’ve switched to a different pair of wireless earbuds or no longer use your AirPods, removing them from iCloud can help declutter your device list and optimize your iCloud storage.
Now that we understand the importance of removing AirPods from iCloud, let’s move on to the step-by-step guide.
Step 1: Unpair AirPods from Your Devices
The first step in removing AirPods from iCloud is to unpair them from all the devices they are connected to. Follow these instructions to unpair your AirPods:
1. Open the Settings app on your iPhone or iPad.
2. Tap on your name at the top of the screen to access your Apple ID settings.
3. Select “iCloud” from the list of options.
4. Scroll down and tap on “Find My iPhone.”
5. Locate your AirPods under the list of devices and tap on them.
6. Tap on “Remove from Account” to unpair your AirPods from the device.
7. Repeat these steps for all your Apple devices, including iPhone, iPad, Mac, and Apple Watch.
Step 2: Reset AirPods to Factory Settings
Once you’ve unpaired your AirPods from all your devices, the next step is to reset them to factory settings. Follow these instructions:
1. Put your AirPods in their charging case and close the lid.
2. Wait for about 30 seconds, then open the lid.
3. On the back of the charging case, locate the small button.
4. Press and hold the button until the LED light on the front of the case starts flashing white.
5. Release the button and wait for the LED light to turn amber, then flash white again.
6. Your AirPods are now reset to factory settings.
Step 3: Remove AirPods from iCloud
Now that your AirPods are unpaired and reset, it’s time to remove them from iCloud. Follow these instructions:
1. Open the Settings app on your iPhone or iPad.
2. Tap on your name at the top of the screen to access your Apple ID settings.
3. Select “iCloud” from the list of options.
4. Scroll down and tap on “Find My iPhone.”
5. Ensure that “Find My iPhone” is turned off. If it’s already off, proceed to the next step.
6. Scroll down and tap on “Remove” to confirm the removal of your AirPods from iCloud.
Step 4: Final Checks
Though you have successfully removed your AirPods from iCloud, it’s always a good idea to double-check that they are no longer associated with your Apple ID. Here are a few things you can do for peace of mind:
1. Visit the iCloud website (www.icloud.com) and sign in with your Apple ID credentials. Check if your AirPods are still listed under “Find iPhone.”
2. On your iPhone or iPad, open the Find My app and check if your AirPods are listed.
3. If you’ve sold or given away your AirPods, ask the new owner to check if they can pair the AirPods to their devices.
By following these steps and performing these checks, you can be confident that your AirPods are no longer associated with your iCloud account.
Removing AirPods from iCloud is a simple process that ensures your wireless earbuds are disconnected from your Apple ID. Whether you’re selling, giving away, or no longer using your AirPods, it’s crucial to remove them from iCloud to protect your privacy and allow the new owner to use them seamlessly.
Remember to unpair your AirPods from all your devices, reset them to factory settings, and then remove them from iCloud through the settings menu. Double-checking that your AirPods are no longer associated with your Apple ID provides peace of mind, knowing that your devices are properly managed.
Removing AirPods from iCloud is an important step in managing your Apple devices and optimizing your iCloud storage. Now that you’re equipped with the knowledge, you can confidently remove your AirPods from iCloud when needed.
How To Reset AirPods From Previous Owner
Frequently Asked Questions
How can I remove AirPods from iCloud?
To remove AirPods from iCloud, follow these steps:
Where can I find the AirPods settings on my iPhone?
To access the AirPods settings on your iPhone, do the following:
Can I remove AirPods from iCloud using my Mac?
Yes, you can remove AirPods from iCloud using your Mac by following these steps:
Do I need to disconnect my AirPods from my iPhone before removing them from iCloud?
No, it is not necessary to disconnect your AirPods from your iPhone before removing them from iCloud. Removing them from iCloud will automatically disconnect them from all your devices.
I no longer have my AirPods. How can I remove them from iCloud?
If you no longer have your AirPods, you can still remove them from iCloud by doing the following:
Will removing AirPods from iCloud erase their pairing with my other devices?
No, removing AirPods from iCloud will not erase their pairing with your other devices. However, the AirPods will no longer be associated with your Apple ID and will not appear in the Find My app or iCloud.com.
Final Thoughts
To remove AirPods from iCloud, follow these simple steps. First, go to the iCloud website and log in with your Apple ID and password. Then, click on “Find iPhone” and select your AirPods from the list of devices. Next, click on the “Remove from Account” option to unlink your AirPods from iCloud. Confirm your decision, and your AirPods will no longer be associated with your iCloud account. Keep in mind that this process will not physically remove the AirPods from your possession, but it will remove them from your iCloud account. So, if you’re looking to remove AirPods from iCloud, follow these steps and ensure a seamless disassociation.


