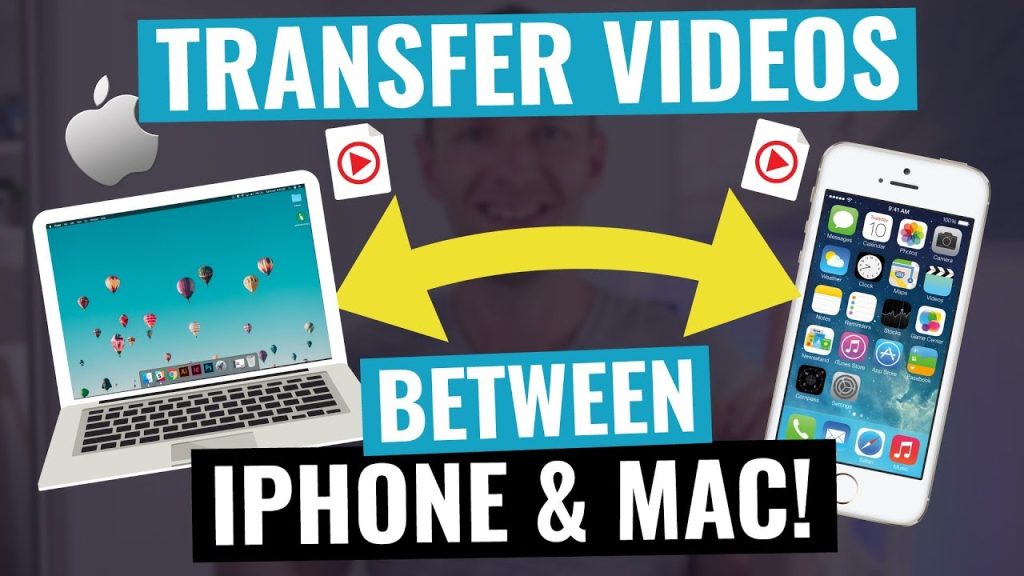
In our digital age, we capture precious moments on our iPhones. Yet, managing and transferring those videos to our MacBook can be a puzzle for many. This guide is of How to Transfer Videos from iPhone to Macbook comprehensive. We’ll walk you through the simple steps to move videos from your iPhone to your MacBook. No jargon, plain and easy steps to make the process hassle-free. As we delve into this guide, we’ll explain the complex process. This will help even those less familiar with technology. It will help them navigate the transfer landscape.
Table of Contents
Understanding the Basics
Before diving into the how-to, let’s understand the basics. To transfer videos from your iPhone to your MacBook, you move files from your phone to your computer. This frees space on your iPhone. It also lets you organize and edit videos on your MacBook. We live in a smartphone era. Our iPhones are our trusty companions. They capture the essence of our lives in vivid videos. These visual stories often outgrow our iPhones. You may be interested in this also: What Is the Difference between an iPad and a Tablet
They need to move to our MacBooks. Picture this guide as your digital compass. It will guide you through the simple process. You will move videos from your iPhone to your MacBook. No tech jargon! No complexities! This is a step-by-step journey. It’s about freeing your videos from your pocket-sized device. You then can move them to your computer.
How to Transfer Videos from iPhone to MacBook

Transferring videos from your iPhone to your MacBook can be a straightforward process. Below are three used methods, each catering to different preferences and situations:
Using a USB Cable:
- Connect your iPhone to your MacBook using the USB charging cable that came with your iPhone.
- Unlock your iPhone and trust the connected device if prompted.
- Open the Photos app on your MacBook.
- In the Photos app, you should see your iPhone listed in the sidebar under “Devices.” Click on it.
- Select the videos you want to transfer. You can choose specific videos or click “Import All New Items” for all recent videos.
- Click on “Import Selected” or “Import All” to start the transfer process.
- Once the transfer is complete, you can find your videos in the Photos app on your MacBook.
Using AirDrop:
- Ensure both your iPhone and MacBook have Bluetooth and Wi-Fi turned on.
- Open the Photos app on your iPhone.
- Select the videos you want to transfer.
- Tap the share icon (a box with an arrow pointing up).
- From the AirDrop section, choose your MacBook. Make sure your MacBook is discoverable.
- Accept the transfer on your MacBook.
- The transferred videos will be available in your Downloads folder.
Using iCloud Photos:
- On your iPhone, go to Settings > [your name] > iCloud > Photos and turn on iCloud Photos.
- Connect your iPhone to Wi-Fi and wait for the videos to upload to iCloud.
- On your MacBook, open the Photos app.
- If you enable iCloud Photos, your videos will sync to your MacBook.
- Make sure you connect your MacBook to Wi-Fi to download the videos.
Choose the method that fits you. You can pick the direct USB cable, the wireless AirDrop, or the iCloud Photos syncing. Each method offers a reliable way to transfer videos from your iPhone to your MacBook.
FAQs
Can I transfer videos from my iPhone to my MacBook?
Yes, you can use AirDrop or iCloud Photos for wireless video transfers. AirDrop is quick and direct, while iCloud Photos syncs your videos across devices.
Do I need special software for transferring videos?
No, you don’t need special software. The built-in Photos app on your MacBook has features like AirDrop and iCloud Photos. They are enough for the transfer.
Can I transfer videos without a USB cable or Wi-Fi?
Unfortunately, direct transfer without a cable or Wi-Fi isn’t possible. You need a connection method like USB or AirDrop.
Are there any limitations on the size or length of videos I can transfer?
The size of the videos you can transfer depends on available space on your MacBook. Longer videos may take more time to transfer.
Conclusion
You transfer videos from your iPhone to your MacBook. It is a simple process. It improves your video management and editing. You may prefer the simplicity of a USB cable. Or, you might like the convenience of AirDrop. Or, you may like the seamless syncing through iCloud Photos. Choose the method that fits your preferences. Use this guide to end the confusion around video transfers. Then, start to manage your memories on your MacBook.

